Monday, August 8, 2011

Furniture Painting Tips

I get several e-mails a month from friends and readers asking for advice on DIY furniture painting projects, so here goes.  DISCLAIMER: I paint furniture as a hobby and have learned by trial and error.  I can almost guarantee there are better ways to do what I do, but what I do works for me and maybe it will work for you! 

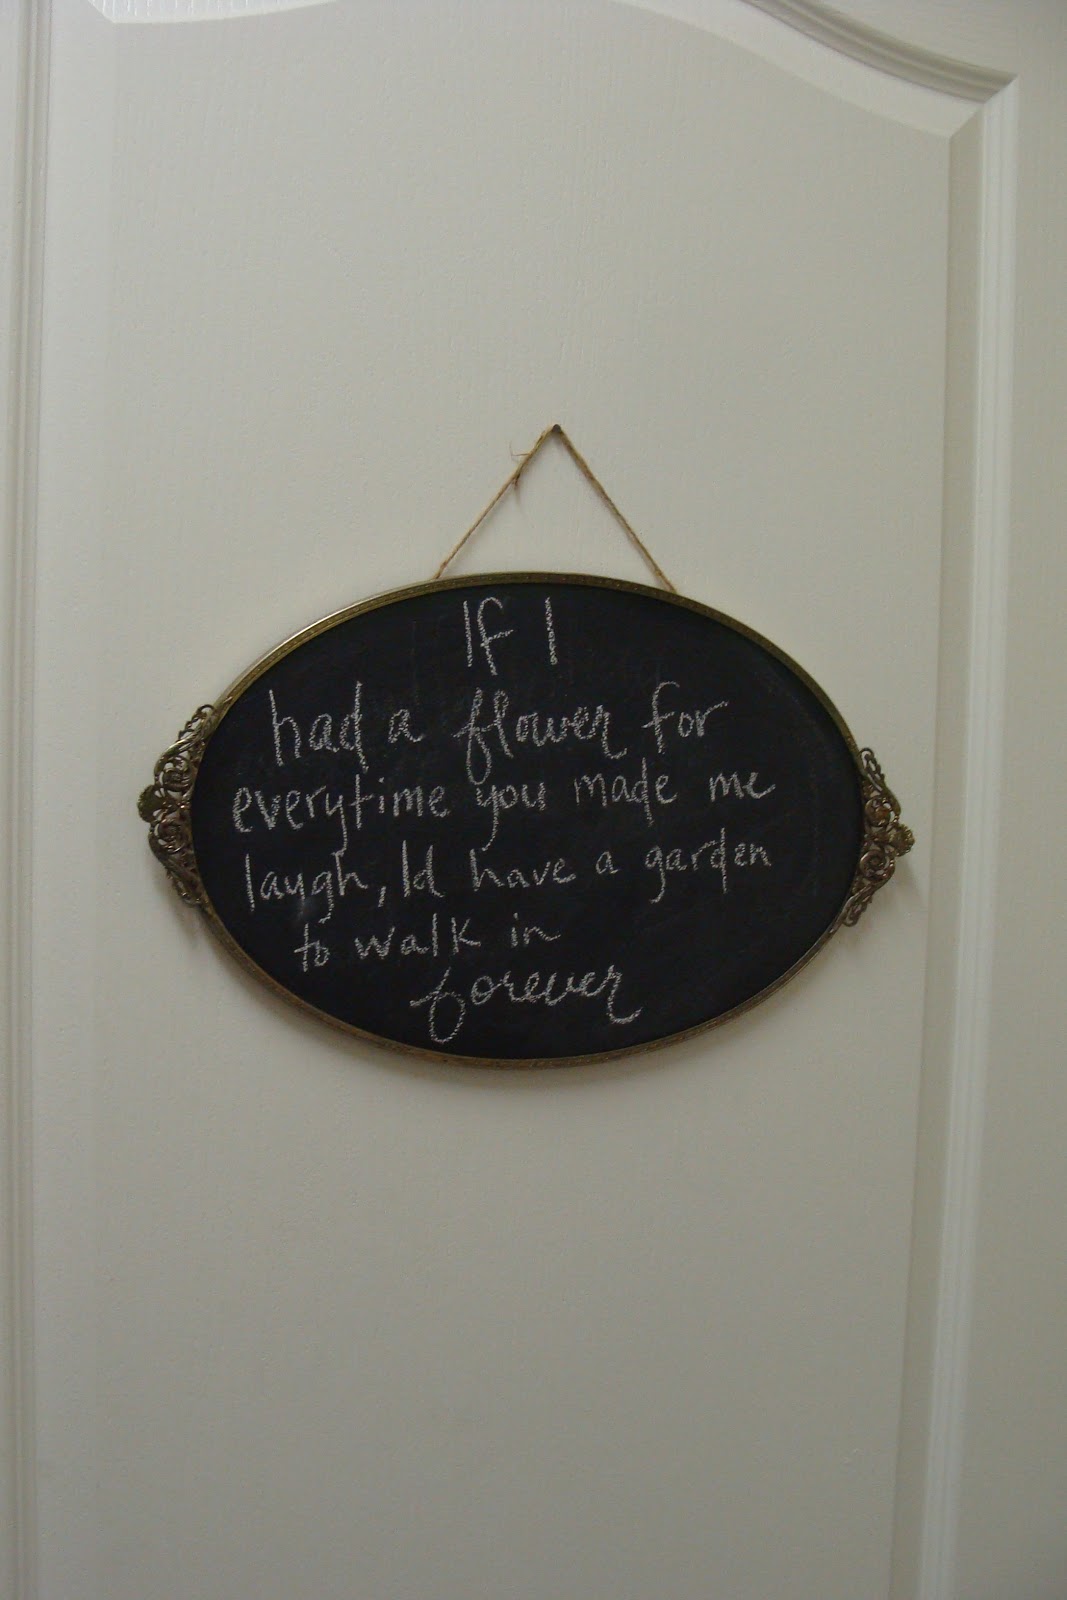
This will be just kind of random as I think about it and I'm keeping it short and sweet...Bachelor Pad is on.  HELLO!

  • I tend to like flat paint on real wood pieces.  It gives it a more aged look and it looks better if you want to sand some off.
  • I frequent Home Depot/Lowes every week and pick up colors in the 'oops' bin and make them work.  You can get neutral great colors for a buck or so.  If they're not flat, I just go with it unless I'm going for a specific look.
  • I try to paint almost anything.  It doesn't have to be real wood, but if it's not, make sure it's not a piece you're going to use often (like a dining room table) or the paint will just chip off and piss you off.
  • If you want to age a piece by sanding it, make sure it's real wood.  It never looks right if it's laminate or particle board or if it's been previously painted.  I use a block sander and just do it lightly until I get the look I want.  I normally buy cheap crap, so I don't get to sand alot :)
  • How I usually age furniture is with black paint or ebony stain.  I love me some ebony stain.  It kind of seals the paint and makes the surface more durable.  So, if you have a cheap piece of crap dining table that's laminate (I have two), slap some ebony stain on it after you paint it and it won't chip.
  • Sometimes I'll repaint a table leg 15 times to get the look I want before I do the whole piece.  There is really no method to my madness...I just play around until I get what I want.  I normally start off with a vision of what I want the final product to look like and try to find a picture to color match (just with my eye...not like really color match at Home Depot)
  • I use a tiny roller to cover as MUCH as I can.  The more simple the piece, the easier it is to paint. 
  • Chairs are a pain in the ass to paint...try to spray them if you can.
  • Sometimes I'll layer a few different colors to find something that works especially if I'm trying to work with what I have...which is pretty often. 
  • I wish I had a paint sprayer that works, but I don't and have never used one.  Can't help you there...
  • I always pay attention to hardware and drawer liners!  Hardware can make or break the piece and I spray paint or restore original hardware alot.  I stock up on drawer liners whenever I can because I love the surprise when you open the drawer and there's a little bit of art underneath your goods.  TJ Maxx and Marshalls always have good cheap drawer liners.
  • I'm still trying to perfect that "Restoration Hardware natural reclaimed wood" look.  Let me know if you get it down and how you did it.  I can never get the colors/texture right.
  • I rarely spray paint things...the colors usually suck. 
  • I sand everything before I paint it, but I never prime. 
  • Wood stain stinks, so try to do that outside or in the garage and let it air out for a day or two before you put it back inside.
Here's some things from round the crib that I've painted:

This is my breakfast table I got at a yard sale for $25.  It was white particle board.  I used two shades of gray and painted one base coat with the lightest shade.  Then I added a darker shade and had a glass of water.  I painted a little on with a brush and then dipped the brush in water and wiped it off and kind of smeared the darker paint so it looked like a glaze.  I let that dry and then got out the ebony stain.  I put the stain in the cracks where dirt would naturally build up and then wiped it off with a rag.  This process is pretty messy, but this is one of my favorite pieces. 

This china cabinet was teal and it was cute, but whoever painted it before did a crappy job, so it had to be redone.  That is the original hardware.  I just painted most of this with the roller and then did the knitty gritty with a brush.  I tried to sand some off, but it didn't work because the teal was underneath.  I am actually going to use this tutorial to make the glass look like mercury glass.  It is going to be relocated to the guest room at the foot of the bed and I'm putting a TV inside.  I was going to sell it, but I finally found it a home...just have to repurpose it a bit.

This desk is in my bedroom as a nightstand.  I painted the base solid and then used the ebony stain.  That chair was HORRIBLE to paint.  I would have spray painted that beast if I knew the nightmare it was going to be to brush it. 

I paid $10 for this headboard and it was nasty laminate.  I just used a solid gray...no aging. 


My crazy painting is not limited to furniture.  I sprayed that light fixture {scored for $15}, that lamp AND the lampshade.  I paint EVERYTHING!

This buffet is in my dining room.  I'm repainting it white ASAP.  To get this look I used like 4 different shades of blue and green and then used black paint similarly to how I do the ebony stain.  The ebony stain (or any stain) makes the pieces have a satin finish...so if you want to keep that flat look, use paint to age it.  Paint is very forgiving, just layer it on and if it's too much wipe it off and use a little water {I keep a cup of water and a ton of rags nearby}.

this is a light green base coat with ebony stain.  I killed it with the ebony stain the first go round, so I had to go back with mineral spirits on a rag and take some off.

This is paint with black paint over it.

For pieces that I use all the time, I put a coat of urethane on top.  It does give it a sheen though, so just beware. 

Here's a sneak peak of my $5 headboard which is actually too big for my bed, but we're fixing that....somehow.  I used a gold leaf on the frame of the bed.  Then I used the ebony stain, BUT it took the gold leaf off, so I had to use black paint instead.  I put a TON of black paint on top of the gold leaf and then just lightly wiped off with a cloth.  I used automotive vinyl spray paint on the vinyl and it worked great!

Well, there you go folks.  PLEASE share any lessons learned or tips you have on painting/refinishing your finds!  I would love to see any before/afters too. 

-jd


Wednesday, July 27, 2011

$5 headboard

I think the {new} inspiration for my bedroom is going to be kind of creamy gold french flea. 

I picked up this headboard at a garage sale at $5 which kind of started the whole concept:


My furniture was black previously, so I was kind of at a loss as to how to incorporate this curvy femme headboard in with the generic black Haverty's {that I got at a thrift store cause it was scratch and dent} dressers.  Then it came to me after my 6th hour of just sitting there staring at the dressers.  Paint!  Duh. 

I still have the big dresser to do, but this one turned out pretty cute.  I had this paint left over from Annie's furniture and I just sprayed the nickel hardware with some random bronze spray that I had.

In a perfect world, I would get the headboard reupholstered in a rich fabric, but....that's not in the budget, SO I think I'll just spray it with vinyl paint {used for automotive and marine upholstery}.  I've seen good colors online, so hopefully they have as good of a selection at my local auto zone.  I'll let you know.  If it works and looks semi decent...that'll be awesome and save a crap ton of money! 

My inspiration for the headboard frame is this: 

I think I'll use gold leaf and then rub ebony stain over it???
{ps.  I'm now on the hunt for a bust and a wooden rosary, how presh}

And maybe use some sort of dark gray vinyl spray?  Hopefully they have a semi decent color.  I'm sure it won't be quite as chic, but for $5...it'll work!


While I have the gold spray paint out, I think I'll put a coat on the chair at the desk on the other side of the bed.  I'm not sure if that desk can stay that color.  The hardware is in the garage now getting sprayed bronze. 

I need some art and bedding ideas now so I can pull this together.  Maybe I'll run across a fabulous crystal chandelier for a dollar this weekend.  ha. 

Any ideas on bedding or art?  Cheap.  I mean, really cheap.

I would love to mix in some velvet, lace, linen, silk and burlap somehow...

-jd


Tuesday, July 26, 2011

floor stencil

I just noticed that I named the last post something about floor stenciling, but then got distracted and wrote about something else.  Classic.

It's 8am and I'm freshly showered and shaved...having just got back from a nice run.  This is the life.  Still not missing work or "bored".  Hmmm...

Anyhoo, what else would I be doing at 8am cept looking at floor stencils for the front entry and pergola floor.  What do you think of these?

stencil-pattern

I like that this is an all over pattern and I think that it would be a good choice for the floor.

stencils
This one has the same feel, but a little lighter...

There were a ton of cute stencils on Royal Design Studio, but I didn't think any of them were appropriate for an outdoor flooring application. 

I found instructions here on how to do it.  Maybe I can start on this project next week...if I can decide on a stencil ;)

-jd

-jd

Monday, July 25, 2011

Floor Stencil Options

My sweet is sleeping, so I'm going to try to squeeze in a quick post.

Still been busting A trying to make a dent in my long, long, long list of house projects I wanted to get done on maternity leave.  I'm on like #3 of 1,546. 

Since the last post, we added these super cute house numbers on stand offs to our front door purchased from Home Depot.  I'm still trying to figure out what to do (if anything) with that surround part at the door.  Not a fan.  I wish it weren't there.  Should I paint it the house color?  Leave it alone?  Darker {like the paint swatch taped up} or Lighter?  Help!

I found a way to grow my vines up the left side at the entry--a cable trellis!  DIY instructions and pics to come later...when we get around to that project. 

I'm also doing a little research on my stencil for the entry.  It will go in these locations {shown in red}


My concern is that it will look cheap and cheesy here and I should just wait until we can afford pavers, but.....we may never be able to afford pavers???  Thoughts?  On the flip side, it might look cute and add some much needed personality?

What do you think?
Those tall plants on either side of the walkway are being replaced soon and the purple plants are going to be replaced with pink or white....can't decide yet.

In other news, I am also starting on my laundry room mini makeover.  I got this rug at Urban Outfitters and it is SO not me, but I love it.  If you can't have color in your laundry room, where can you have it?  {the tags are still on juuuuuust in case}


I'm thinking a dark gray color on the wall, but only up to the height of the door frame where we will install a chair rail and then do flat white from the chair rail to the ceiling???  Who knows. 

In the meantime, I busted out this cute little chalk board that's hanging on the door to the garage:


I'm also redoing our bedroom by painting our two black dressers white.  Here's the first one in progress:


We play alot in our bedroom now that we have Annie {she loves the Tempurpedic, hehe} and the black was just DRAB...just like the front door.  White is hot to me right now...clean, fresh, and a blank canvas.  I dunno.  Maybe I just have too much time on my hands and spend way too much time staring at my house.  This puppy is next for a fresh coat of white paint:


With the white furniture, I am leaning towards a super light (but not white) plain sheet with some sort of quilt folded at the bottom.  Maybe painting that mirror a coral color and adding a TON of gold accents?


Who knows. 

Everything I own has no less than 3 coats of paint ;)

Hoping for a productive week,
jd


Thursday, July 21, 2011

curb appeal phase 1A: door

I've been thinking about things to do to my front door since this post over a year ago.  My entrance has always felt a little drab and unapproachable with the black door, but that was the only option the builder gave us with the house color I liked.  Guess what I did today {after looking online at front doors with glass only to realize that project is totally NOT in the budget}?
drumroll......

Painted it white!  BAHAHAHAHAHHAHAHAHHAAAAAAAAAAAAAAAAAAAAAAA

Here it is before:

 Since then, I've taken down those hanging baskets because as beautiful as they were, they never looked good.  The water POURES off of the roof on the right when it rains, so that poor basket was always drenched and then beat with sun all day :( 

{note the paint swatches taped to the door in that pic}  hehe


BAM!  Wierd lighting in this pic {the house is really darker like shown above}.  It's only about 1/6th of the way finished.  My big plan for the front stoop is.....

Paint that awkward part that surrounds the door a darker gray {darker than the house} so it kind of separates itself from the white trim above and the door.  I wish that wasn't there, but it is what it is and I don't know what else to do with it.

I moved the urns up to the front door in hopes of getting two magnolia topiaries to go underneath the coach lights....we still haven't bought those, lol. 

I love the way the silver hardware pops off of the white and it looks great with my doorbell I got a while back from restoration hardware:

SO, I picked up some silver house numbers at Home Depot that I will put in the middle of the door and I want to paint the urns to look like zinc and take that purple heart out and add something pink!  I'll keep the potato vine cause I LOVEEEEEEEEEE potato vine.

I was obsessed with the look of the hanging baskets, but as stated above, they won't work and I don't think just one will look right.  I really want to grow a vine up the left side that continues over the arc, but I'm not sure how to start that.  Any ideas?  I'm going for this:
  where it trails on one side only.  I thought about a generic lattice, but I'm still not sure how to apply it {size, design, etc} and you will see it for quite some time before the vine covers it, so I don't want it to be totally fugly. 

Last, but not least on phase 1 of my front door curb appeal makeover is the ground.  Thin pavers would be ideal, but who has money for that?  Not. Us.

I had a big rug down which looked nice for about 3 seconds until the sun ate it away and the rain washed out all of the color.  Small regular front door mat here I come.

That brings me to my {hopefully} cute cheap solution: PAINT.

I want to do a fun stencil.

Here's an example of one on hardwood floors.  <3

I am toying with doing a dark background in the same gray that I chose for the surround to the door and then a white design on top.  Something kind of classic though. 

2007_09_25_floor stencil2.jpg
Maybe more like this?

I don't know how long all of this will take, but I'm hoping to get it all complete by next Sunday.  It's pretty much all labor with very low expenses, so it should be feasible!  Then off to phase B: the planter bed in the front and then phase C: a planter bed on the side and the last and final phase is the planter beds in the back by the pergola!

-jd

Wednesday, July 20, 2011

new 'do

OK, so, sadly, I've had the same hair 'do for about....oh.....3 years.  EWE. 

Here's me in 2008


And here's me last month:


Mama needs a new look.  I mean, I like my hair and all, but....three years!?!?  And I'm sure it's been longer than that...I just don't have photo evidence readily accessible. 

I look at hair inspiration constantly, but never have the balls to do anything I find.  And let's get serious...even the stuff I'm about to post is pretty similar to what I have, but....it is what it is.  I'm super, super, super lazy when it comes to my hair.  I have my current style down to a 15 minute routine, and I'm not about to get some high maintenance 'do that I'll never be able to maintain.  Also, I have freakishly thick hair, so it has to stay long or it will just look big and gross. 

Here goes:

Pretty Medium Layered Hair Styles
I want something a little more edgy...not so 'soccer mom'.  Obviously, I'm not cutting it this short and I'm sure as hell not getting bangs, but if you look in between....I want that.  That "just came from the beach, rode in my jeep on the way back and all of my bad-ass-ness just comes natural" look.


I'd like to think that I can get mine a little more wavy and less curly...more natural, less iron...but I don't know if that will happen.  I need LAYERS!!!!!!!!!!!

And this is the part that I've been thinking about FOREVER.


While I would love to do this, I don't know that it will ever happen.  But I do love the frosted tips.  Have you seen that move 'Whip It'?  It's a good flick...watch it.  When you do, pay attention to Juliette Lewis' highlights.  I NEED THEM!!!!!!!!!!!!!!!!!  That's what I'm going for here.


Kind of like when you have highlights and they are growing out.  Perfect.  Low. Maintenance.


I'm thinking this is {realistically} what it will end up looking like.  I'm hoping it can be a little fresher, but old habits die hard.


Whatya think?  I'm keeping every inch of length, but want it uuber layered including short layers everywhere...even around my face, but not bangs....I don't think.  And then an 80's perfect frosted tip.  YESSSSSSSSSSSSSSSSSSSSSS.  I'm calling to make an appointment now! 

Stay tuned ;)

-jd

Tuesday, July 19, 2011

busy busy bee

Anyone that knows me, knows that I am constantly working on our little home.  I love it.  I thrive on transforming trash and painting furniture.  I feel proud when I improve on a space in my home.  The only downside to this little hobby is that my house is pretty much constantly a hot mess.  At any given time, there is probably a half painted piece of furniture, accessories piled up from where I was trying to style a piece and got fed up and nails on the wall empty from the piece I just switched around.  It works for me though, because I really do have a master plan.  I'm getting there slowly...and even more slowly now that I have Annie.  I try to cram pack as much as humanly possible into her morning nap time which ranges from 2-4 hours.   I have been one  busy lady here recently {hence the lack of blog posts}.  Lemme show you the mess.

So, my first project was this Asian china cabinet.  I bought it a while back and semi liked the teal color it was painted, but whoever did it, did a half ass job, so it eventually needed to be painted anyways.  I chose my new favorite color...white.  bahaha.  It's actually Sherwin Williams SW7008 Alabaster.  I find it the perfect creamy shade of white that still blends with the stark white trim, but doesn't come off as cheap spray paint.  When painting furniture, I always go flat...  it seems so much more cottage-y to me.

Before:


After:


Sadly, I think I might have to get rid of this piece to make room for a desk.  We just got a shiny new puter and as much as I would love to make our 3rd bedroom an office, A. I know we won't use it way back there, and B. that will hopefully be baby #2's room not too far down the road. SO, I'm gonna try it in one spot of the dining room, but will prolly end up putting it on craigslist for $250.  Hit me up if you're interested :)


Since finding my favorite white, I also painted that bookcase in the hallway.  I started stripping it about a year ago trying to get that perfect raw wood 'Restoration Hardware' look, but....yea....that shiz is time consuming and it was too hot.  So inside it sat half done for a year until last week.  I'm really digging the white.  It brightens up my entry hall which was much needed {no windows in there} and will look smashing with my new rug I just ordered from Urban Outfitters!

Before:


After:


{I'm still in the process of accessorizing that beast, so it's just hanging out right now waiting for some more goodies}

Onto the dining room.  I sold the barn table {see ya!} and have big dreams for a diy zinc table, but first....I have to get rid of this table I've had for a bit {Drew has been getting onto me about all of the "spare" furniture I have piled up around the house, hehe} The wood finish was killing me, so I painted it today. 

Before:


{I used it for a split second in my breakfast room until I found my little round one at a garage sale}

After:


I'll sling it in the dining room until it sells {$100}...please buy it.  It's cute now, but too small for my space.  I used Sherwin Williams SW6163 Grassland and then rubbed a little ebony wood stain on top.  I'm going to put it with my slip covered chairs and some mason jars with pink flowers on top to rip this look:

MadeByGirl: Nicole's California Home Tour Pt.1 ... (Via Made By Girl)

{maybe I'll add a little urethane since my inspiration pic looks a wee bit more shiny}

Let's see what else...Oh, I also sprayed this cutie today:
I haven't got a clue where he will go, but I'm thinking maybe the garden???

Here's the current table in the breakfast room.  It was asking for a round table and I picked this one up at a garage sale for $25 {and refinished it}.  I've been pining over a zebra hide rug for under this bad boy for almost a year, but still can't break down and buy one ;)

What's next on the list you ask?  I gotta spray my bamboo chairs white and cover them in some dark gray burlap-ish fabric I picked up for $1.25/yd


And then repaint my beautiful buffet (seriously one of my favorite pieces) my fav new white!

I know this should have probably been like 10 different posts, but hey...mamas got a baby to tend to.  I need to take my shower for the week {wink} and then wake up my sunshine.  Buy my china cabinet and table.

Ciao!
jd